 |
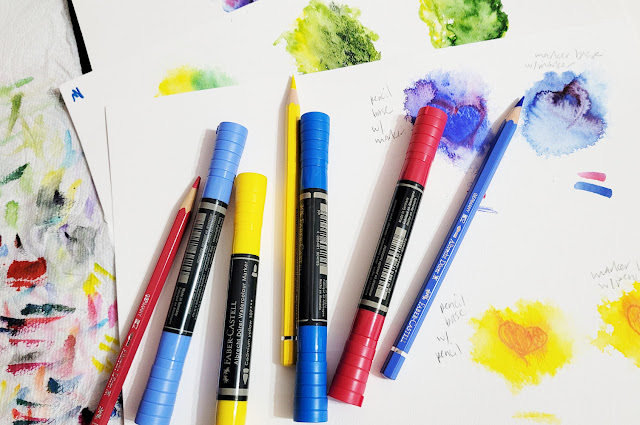
| A fine mess! |
During a late-night, pandemic-winter-doldrums-driven
retail-therapy session, I found myself buying some Faber-Castell Albrecht Dürer Watercolor Markers (among other new-to-me sketch materials – you’ll
eventually see them all here). I’ve had a couple colors for a while and experimented
with them briefly back in 2019, but I never got into them – not even enough to buy
more colors. I may not get into them this time either, but with more colors, at
least I can blend and use them in the field, especially when combined with watercolor
pencils.
In my early years of urban sketching, I used many types of water-soluble markers, including Tombow Dual Brush Pens, Akashiya Sai, Pentel Color Brushes, Sakura Koi and my favorite Kuretake Zig Clean Color Real Brush Markers. Eventually, as I began working more with watercolor pencils, they gradually replaced markers in my bag, and I’ve never turned back. One reason is that I’ve always had ambivalence about the “marker-y” look of markers. Although I like the efficiency of spreading large areas of color quickly, they leave behind streaks that are difficult to blend out. Pencils are slower, but I adore the texture they can impart. I’m still ambivalent, but I have enough interest in Dürer markers to give them a try again.
This post is not intended as a product review; however, I had taken some detail photos back in 2019 with that intention, so I’ll include them here. The double-sided Dürer watercolor markers have a firm bullet point on one end and a brush on the other. The brush end is a formed felt tip, not a true “hairy” brush (like the Kuretake Clean Color brush pens), but I like the broad shape – larger than most. The caps are long and reverse-tapered, and they post awkwardly.
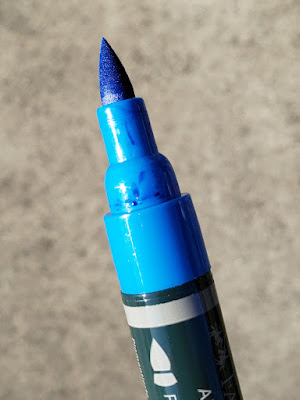 |
| A big juicy brush tip |
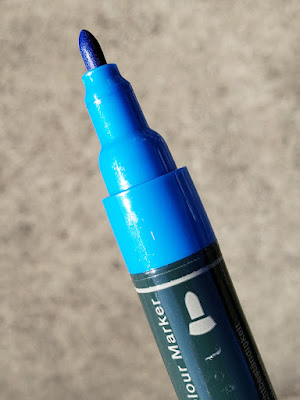 |
| Bullet tip |
 |
| Posted cap is awkwardly long. |
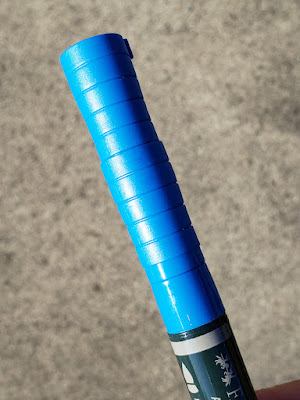
Unlike many watercolor markers on the market today, which are typically dye-based and can be fugitive, the Dürer markers contain pigment with “excellent lightfastness,” according to Faber-Castell. Lightfast ratings are indicated on the marker barrel. The ink is very juicy, so much so that when I pulled a cap off one marker, ink spattered onto my paper and desk.
 |
| Lightfast rating indicated on barrel |
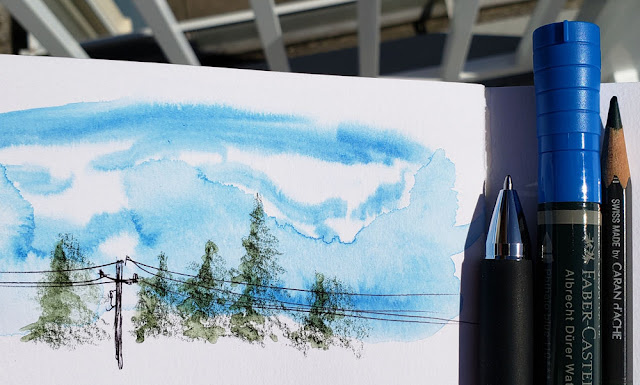
One idea I had in 2019 was to use a marker to color skies with the same “licking” technique I use with watercolor pencils. In the test below, I spritzed a Stillman & Birn Beta page generously with water, then simply ran the brush end of a marker through the wet page. Since the “licking” step – taking pigment from the pencil tip with a wet brush – is eliminated, using a marker this way is efficient and effective.
 |
| "Licked" sky technique in Stillman & Birn Beta sketchbook |
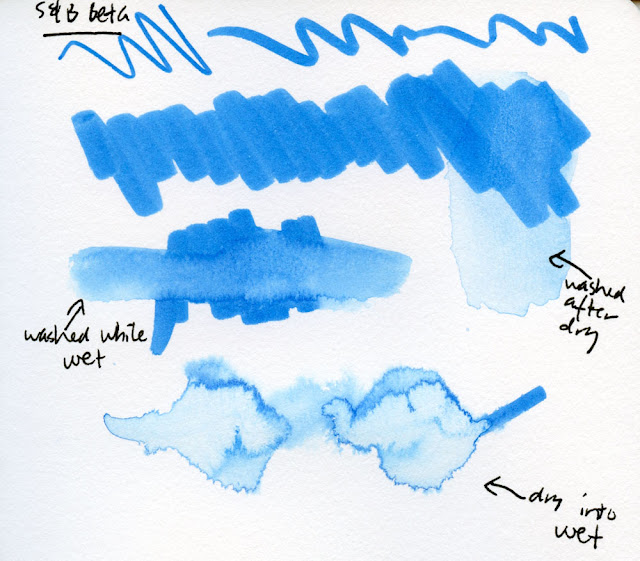
Below, I also tested a marker in a few more ways: Apply marker to the paper, then activate with water while the pigment was still wet; apply marker and allow pigment to dry completely before activating; and run a marker through the wet paper (same as the sky test).
 |
| More tests in S&B Beta sketchbook |
Just as I always say about watercolor pencils, watercolor markers cannot be expected to emulate actual watercolor paints. Although some effects may look similar, they are still a different animal. They also behave differently from watercolor pencils. For example, after drying completely, watercolor paints can still be rewetted, moved and sometimes even lifted. Markers, on the other hand, do not activate well once the pigment has dried (as shown in the “washed after dry” example above). Like watercolor pencils, once the pigment has been activated and fully dried, the color should be considered permanent. It won’t budge much.
One surprise from my experiments so far is that applying water to marker colors dilutes the hues instead of making them more intense. This is logical, of course, but it’s the opposite effect of watercolor pencils, which almost always become more intense when the dry pigment is activated. I’m so used to the visual delight of applying water to watercolor pencils that it was a letdown to see the markers go the opposite way.
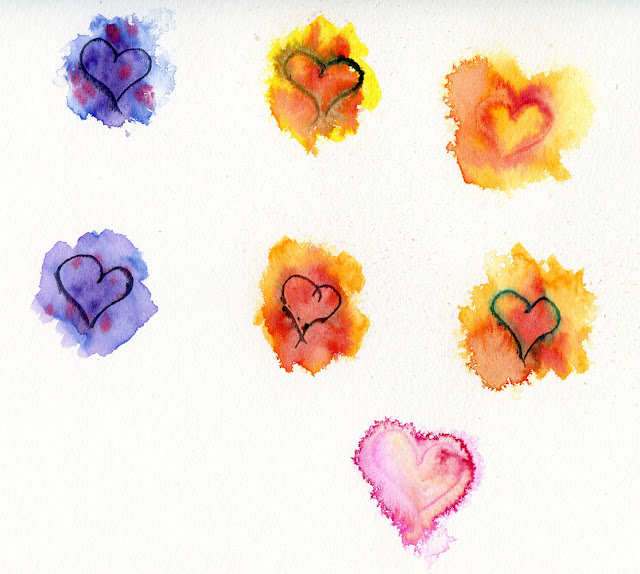
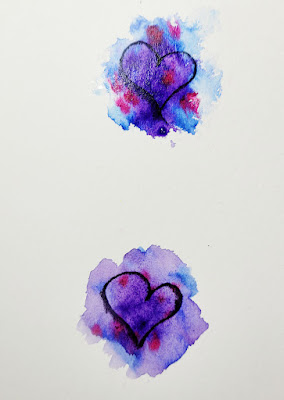
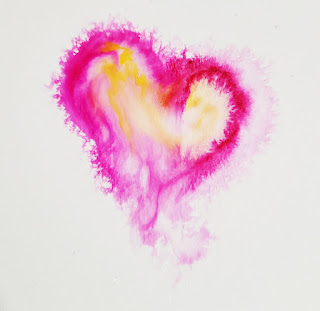
In the first six doodles below, I scribbled a marker onto Canson XL 140-pound watercolor paper and then spritzed the scribble immediately. I then dropped in another marker color and used a watercolor pencil to draw a heart while it was still wet. In the last example, I spritzed the clean paper with water, drew a heart with a carmine marker, and colored it in with a yellow marker. The colors looked so much brighter when they were still wet (see lower images), as is often the case with watercolor paints.
Experiments on Canson XL 140 lb. watercolor paper. These doodles are completely dry. See below for how some looked when still wet. Wet doodles Wet doodle
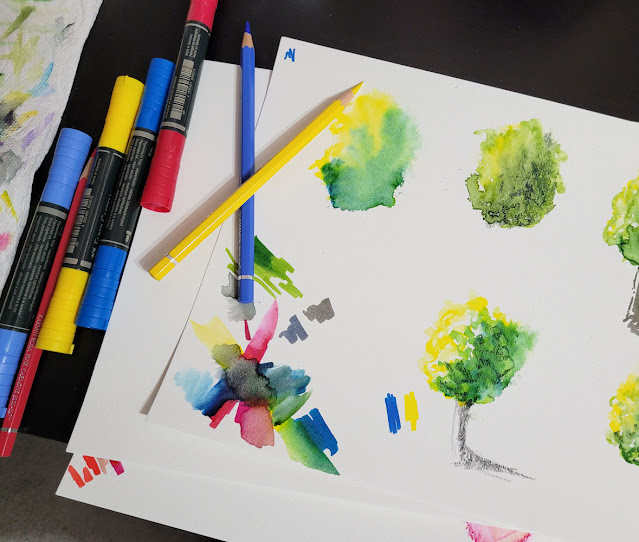
On this page of imaginary trees, I tried various combinations of markers as well as markers with watercolor pencils. The spritzer did a good job of eliminating the marker streaks and returning a more organic foliage appearance overall. But again, the marker colors became more diluted while the pencils intensified. I do like the foliage texture added to the still-wet blobs of marker colors by scribbling with dry pencils. I know this is a trick that some watercolor painters use. At lower left, I tried mixing a primary triad with three Dürer marker colors that came closest to CMYK hues: Phthalo Blue (110), Pink Carmine (127), Cadmium Yellow (107).
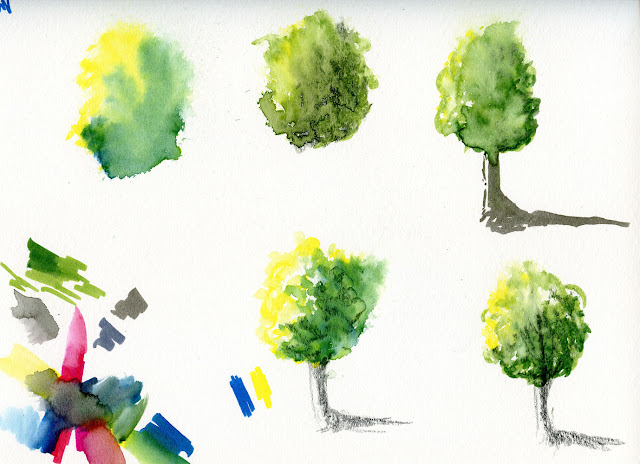 |
| Marker and pencil experiments on Canson XL 140 lb. watercolor paper. The markers were more vivid before spritzing, but the watercolor pencils became more intense after spritzing. |
Faber-Castell’s color product lines are color-matched effectively. For the markers used below, I found the identical colors in Albrecht Dürer Watercolor Pencils. On the left, I scribbled heavily with a pencil, spritzed the scribble, then drew a heart into the wet puddle with either a marker or a pencil. On the right, I scribbled heavily with a marker, spritzed, then drew into the puddle with a marker or a pencil. The effects are similar either way, but the markers take less water to activate than pencil. I am in the habit of spritzing pencils, so I used too much water in one case.
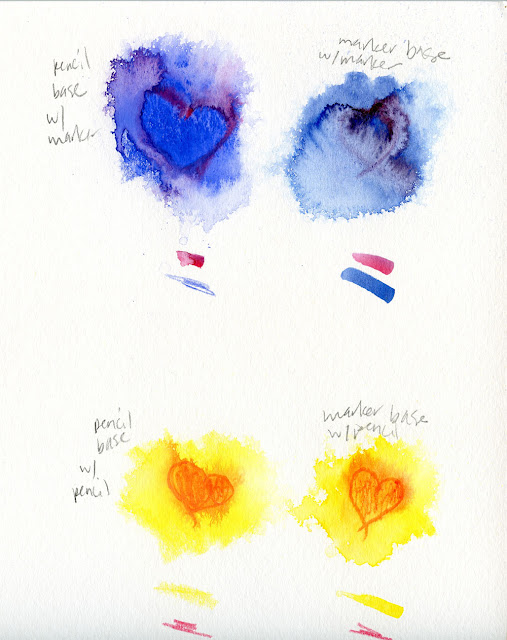 |
| More pencil and marker experiments on Canson XL paper |
Finally, I used a marker in the most conventional way in the detail of the sketch below (full sketch posted previously): I colored the windows quickly, then used a waterbrush to try to blend out the marker-y streaks with mixed results. They blend relatively well if the ink is still wet; less so if allowed to dry. Watercolor pencils are more leisurely in that regard – I don’t have to race the clock before deciding whether to activate.
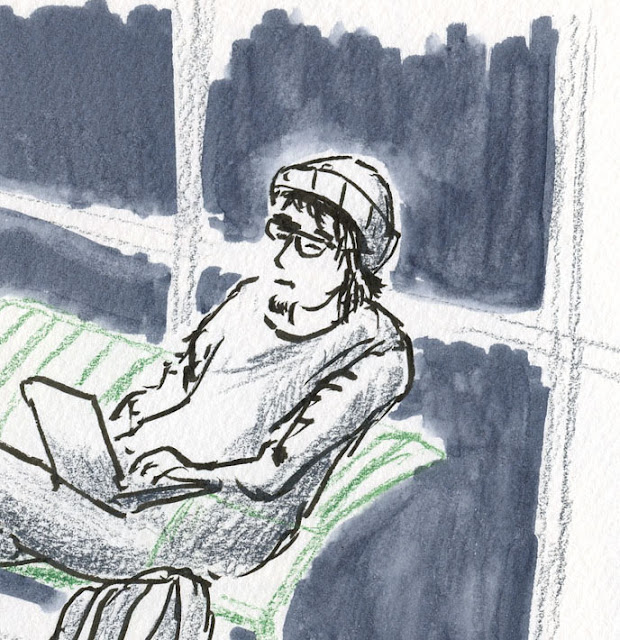 |
| Mixed results blending Durer marker |
Incidentally, speaking of Faber-Castell markers, Don Colley made an exciting announcement on social media recently: After discontinuing its Pitt Big Brush Artist Pen line of permanent (non-soluble) markers a few years ago, Faber-Castell has brought them back – in a new form factor. Now the Pitt markers are double-sided like their sister watercolor markers: A brush on one end and a 0.8mm point on the other. It turns out that Don was instrumental in bringing the Big Brush back; he raised such a stink about losing his favorite art medium that Faber-Castell couldn’t refuse! See Don’s blog for the full scoop.

You got some interesting looks spritzing these markers. I like that. For me the fact that the markers dry fairly quickly is a reason they probably wouldn't be something I would use.
ReplyDeleteAs a regular watercolor painter, you would probably find these tedious --opening and closing the caps, rushing to get them wet, etc. They are not nearly as convenient or compact as watercolor paints. I see them more as pens that might be fun to mix with other media... still experimenting.
Delete